
Do It Yourself Shiplap!
Posted by Emily Bates on Jun 8th 2023

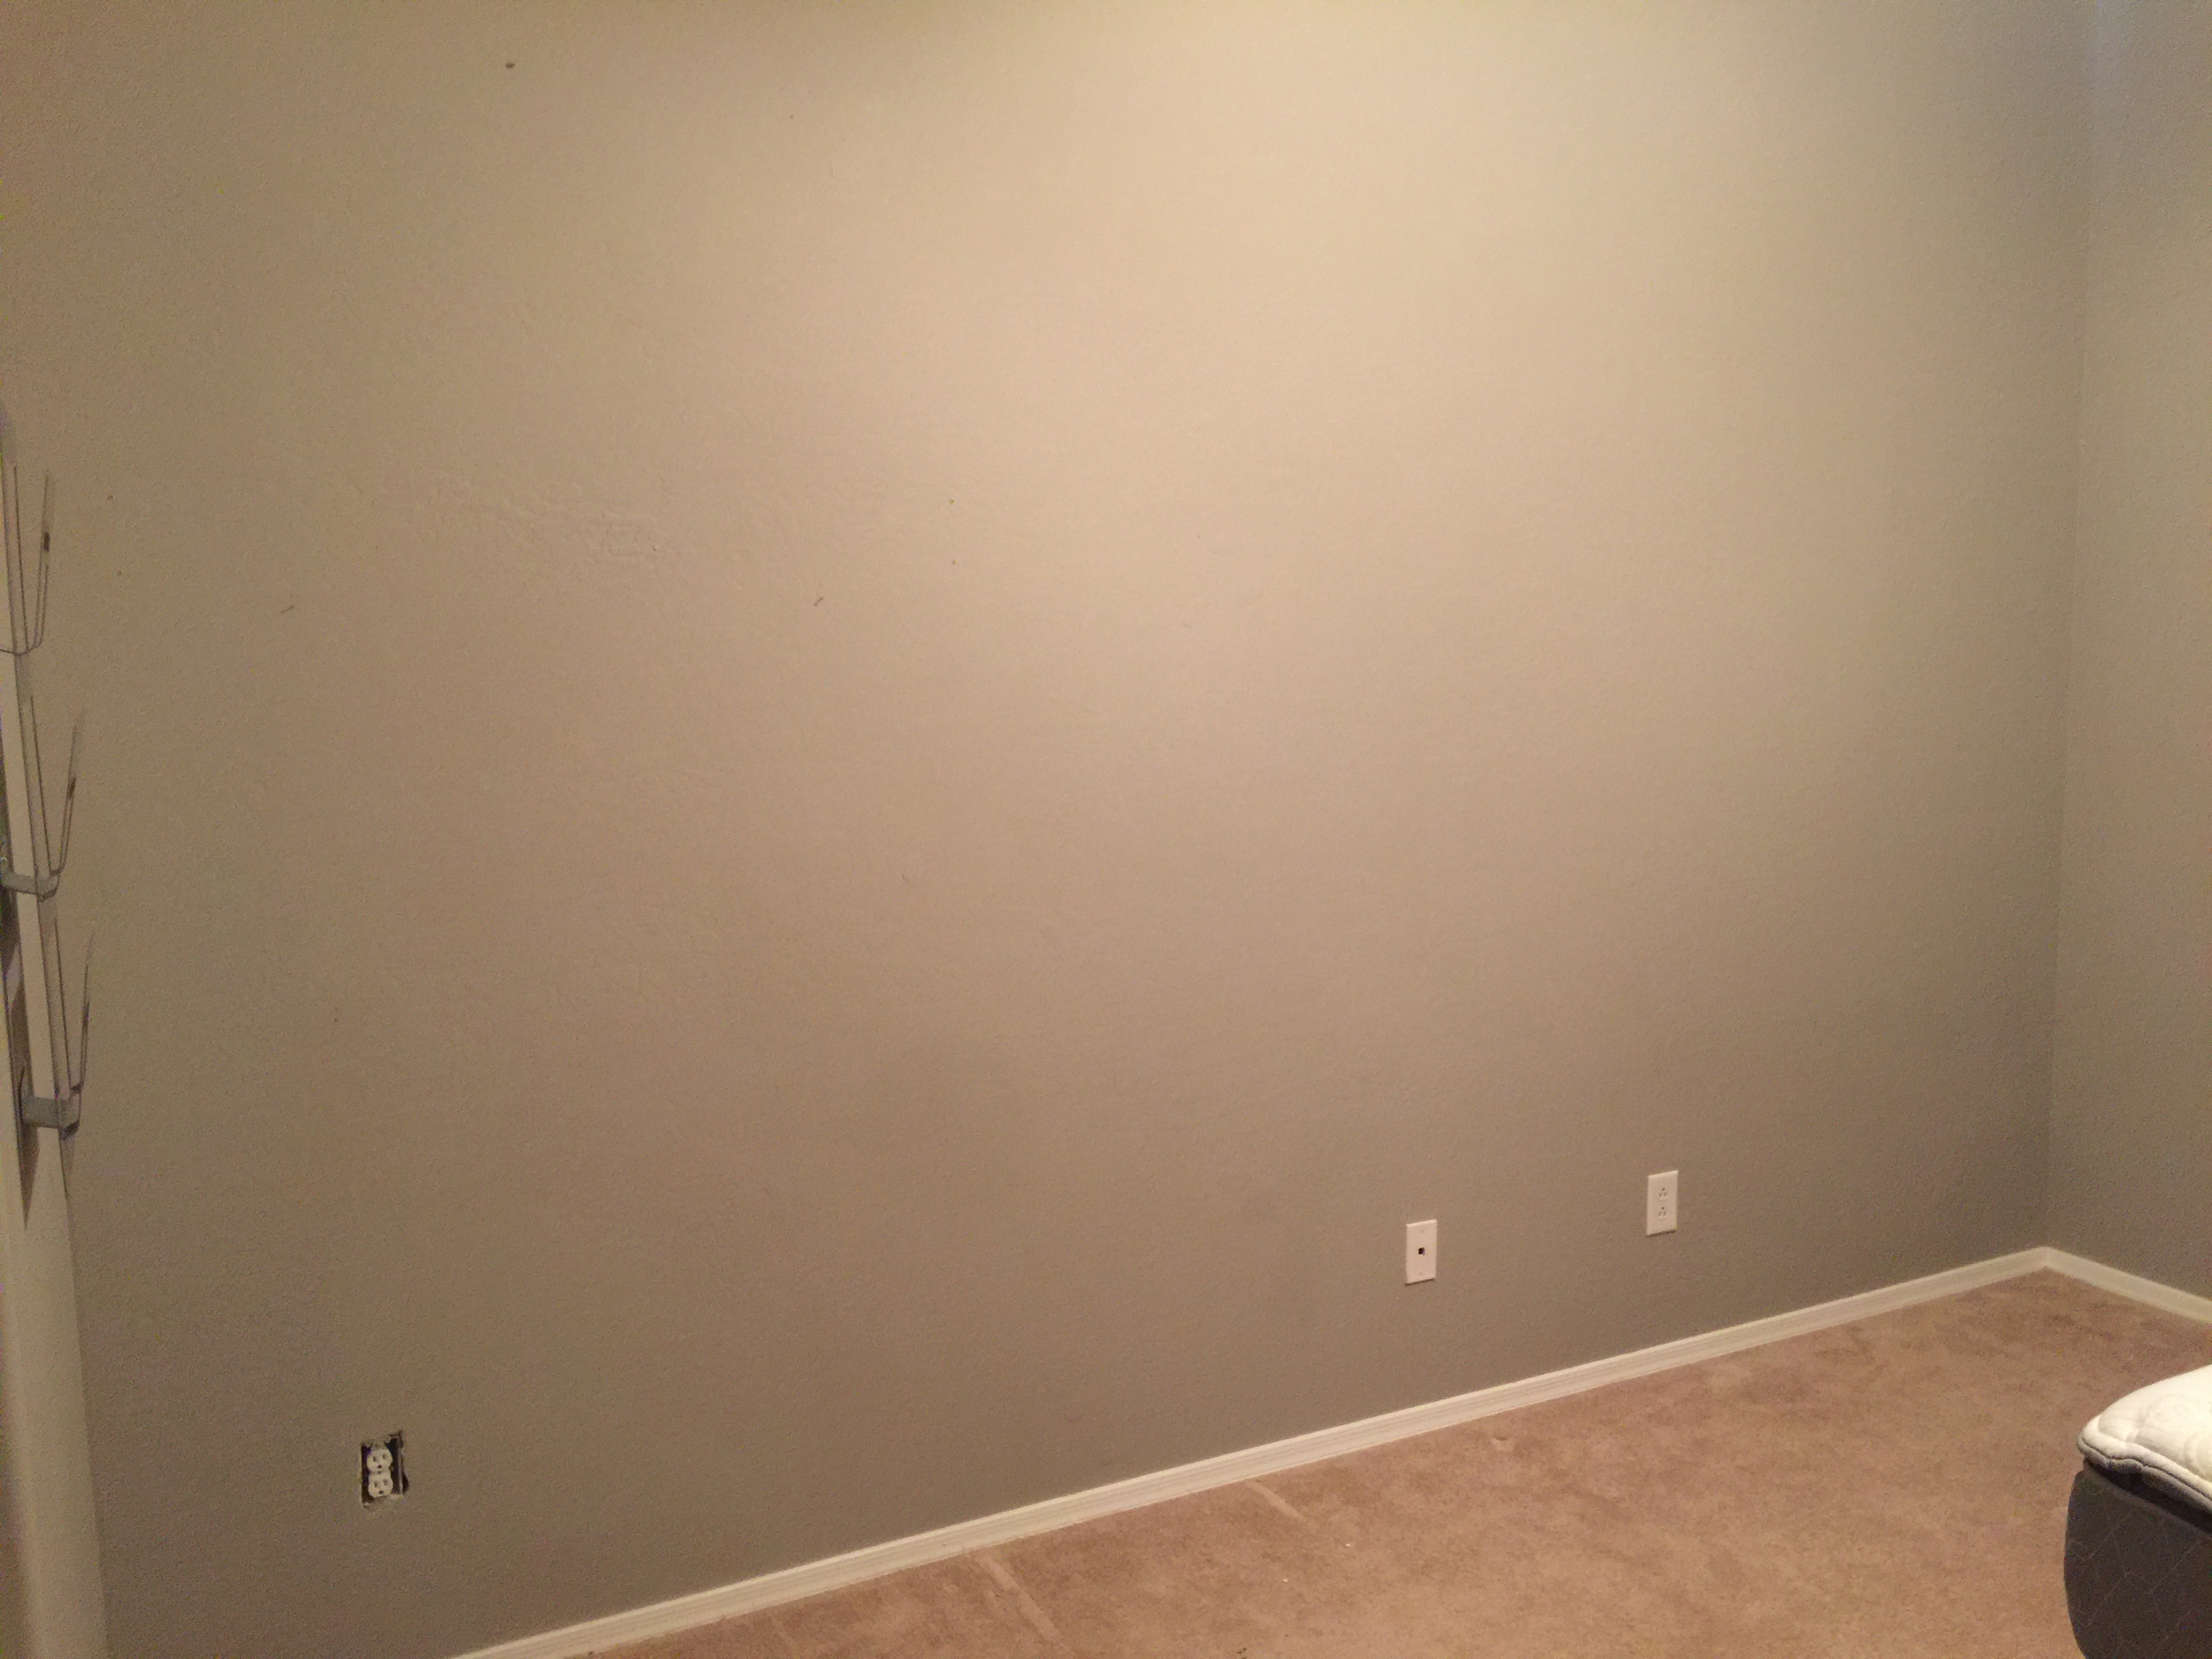
If you followed along on my instagram story, you'll remember what this room looked like before I began purging and cleaning everything out of it! Prior to now, it was a craft/guest room but lacked charm in its decor. I wanted to create a functional, pretty room, for guests and let's be honest, I'm always looking for an opportunity to take on a little DIY project... I knew shiplap was the answer, so without further ado, here's what you'll need:
Tools/Materials:
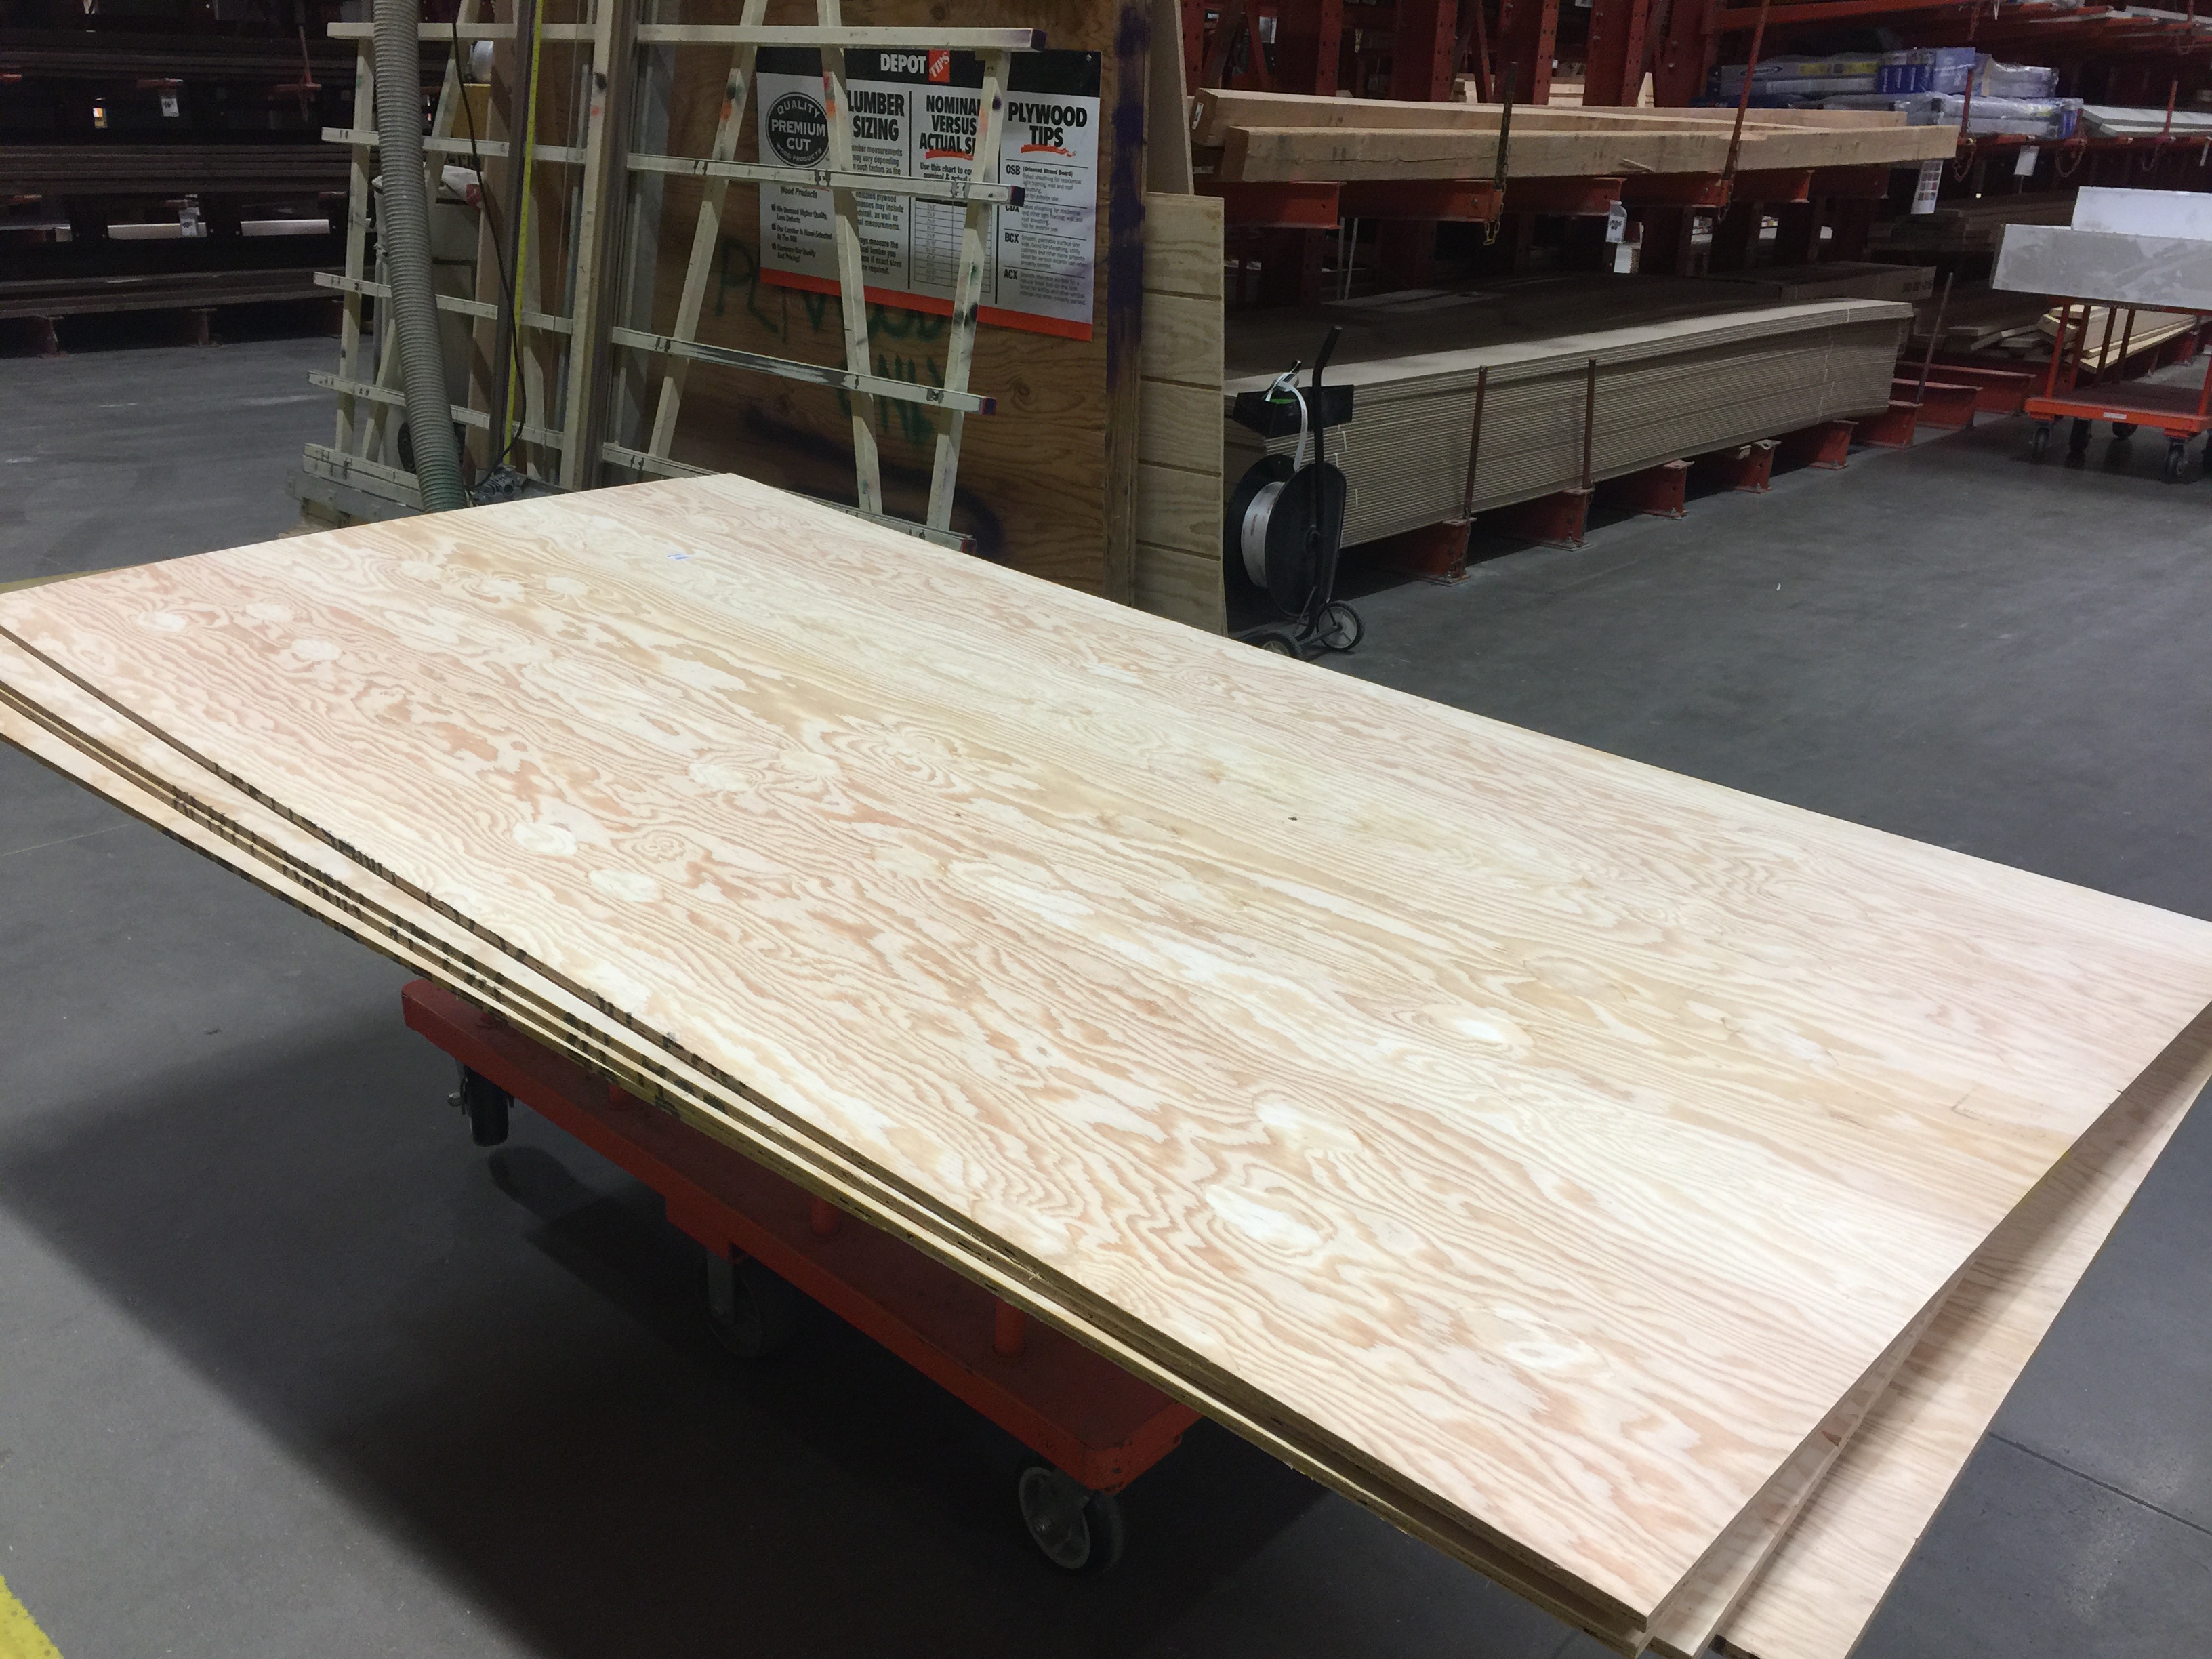
4x8 1/4" plywood sheets (I ripped mine as 12", but you could do whichever size planks you'd like)
Miter Saw (or any type of saw to make cross cuts up to 12")
Nail gun (my personal favorite is the Ryobi Airstrike)
Electrical outlet extender (1 per outlet)
2" finishing nails
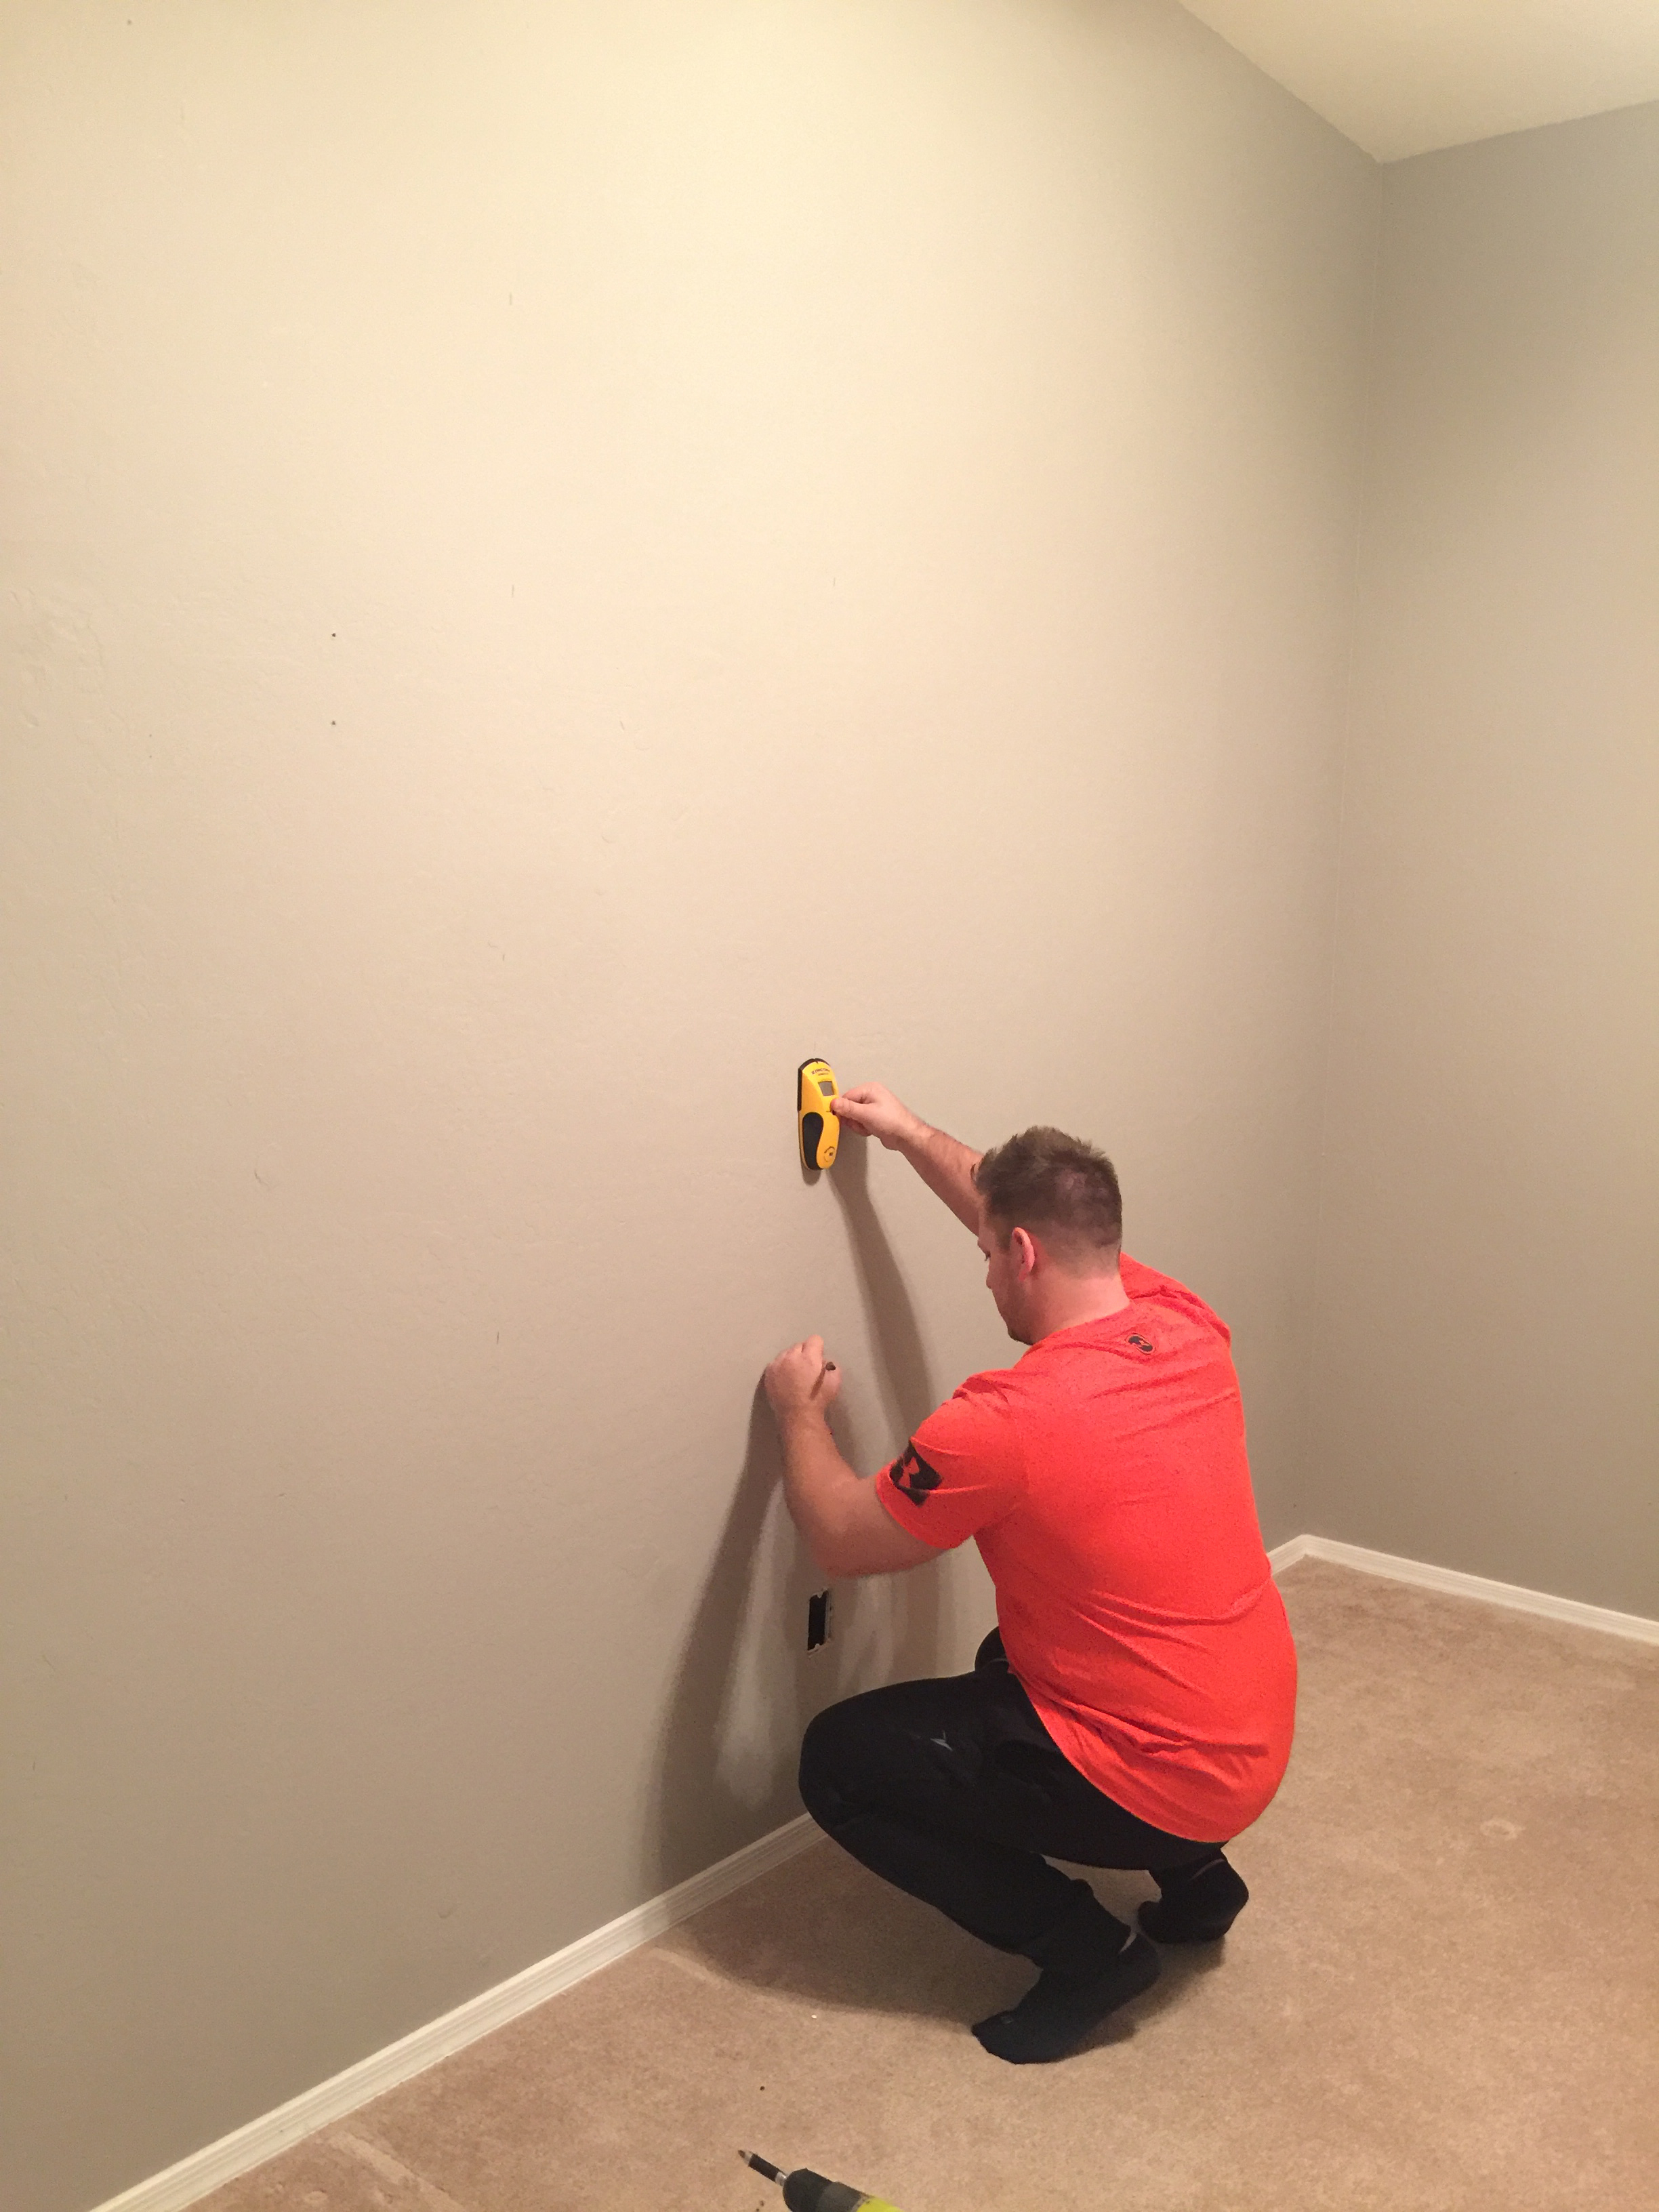
Stud Finder
Tape Measure
Screwdriver (flathead and phillips)
Coins for spacers (we used nickels)
Pencil
Ladder
Paint
Paint roller
Angled brush
Now you're ready to begin!
The first thing you'll want to do, is measure your area to be ship-lapped! Our wall was 10'x13' so we knew we would need 5 sheets, plus one, just incase! Remove the outlet covers and store them in a safe place for reattaching later.

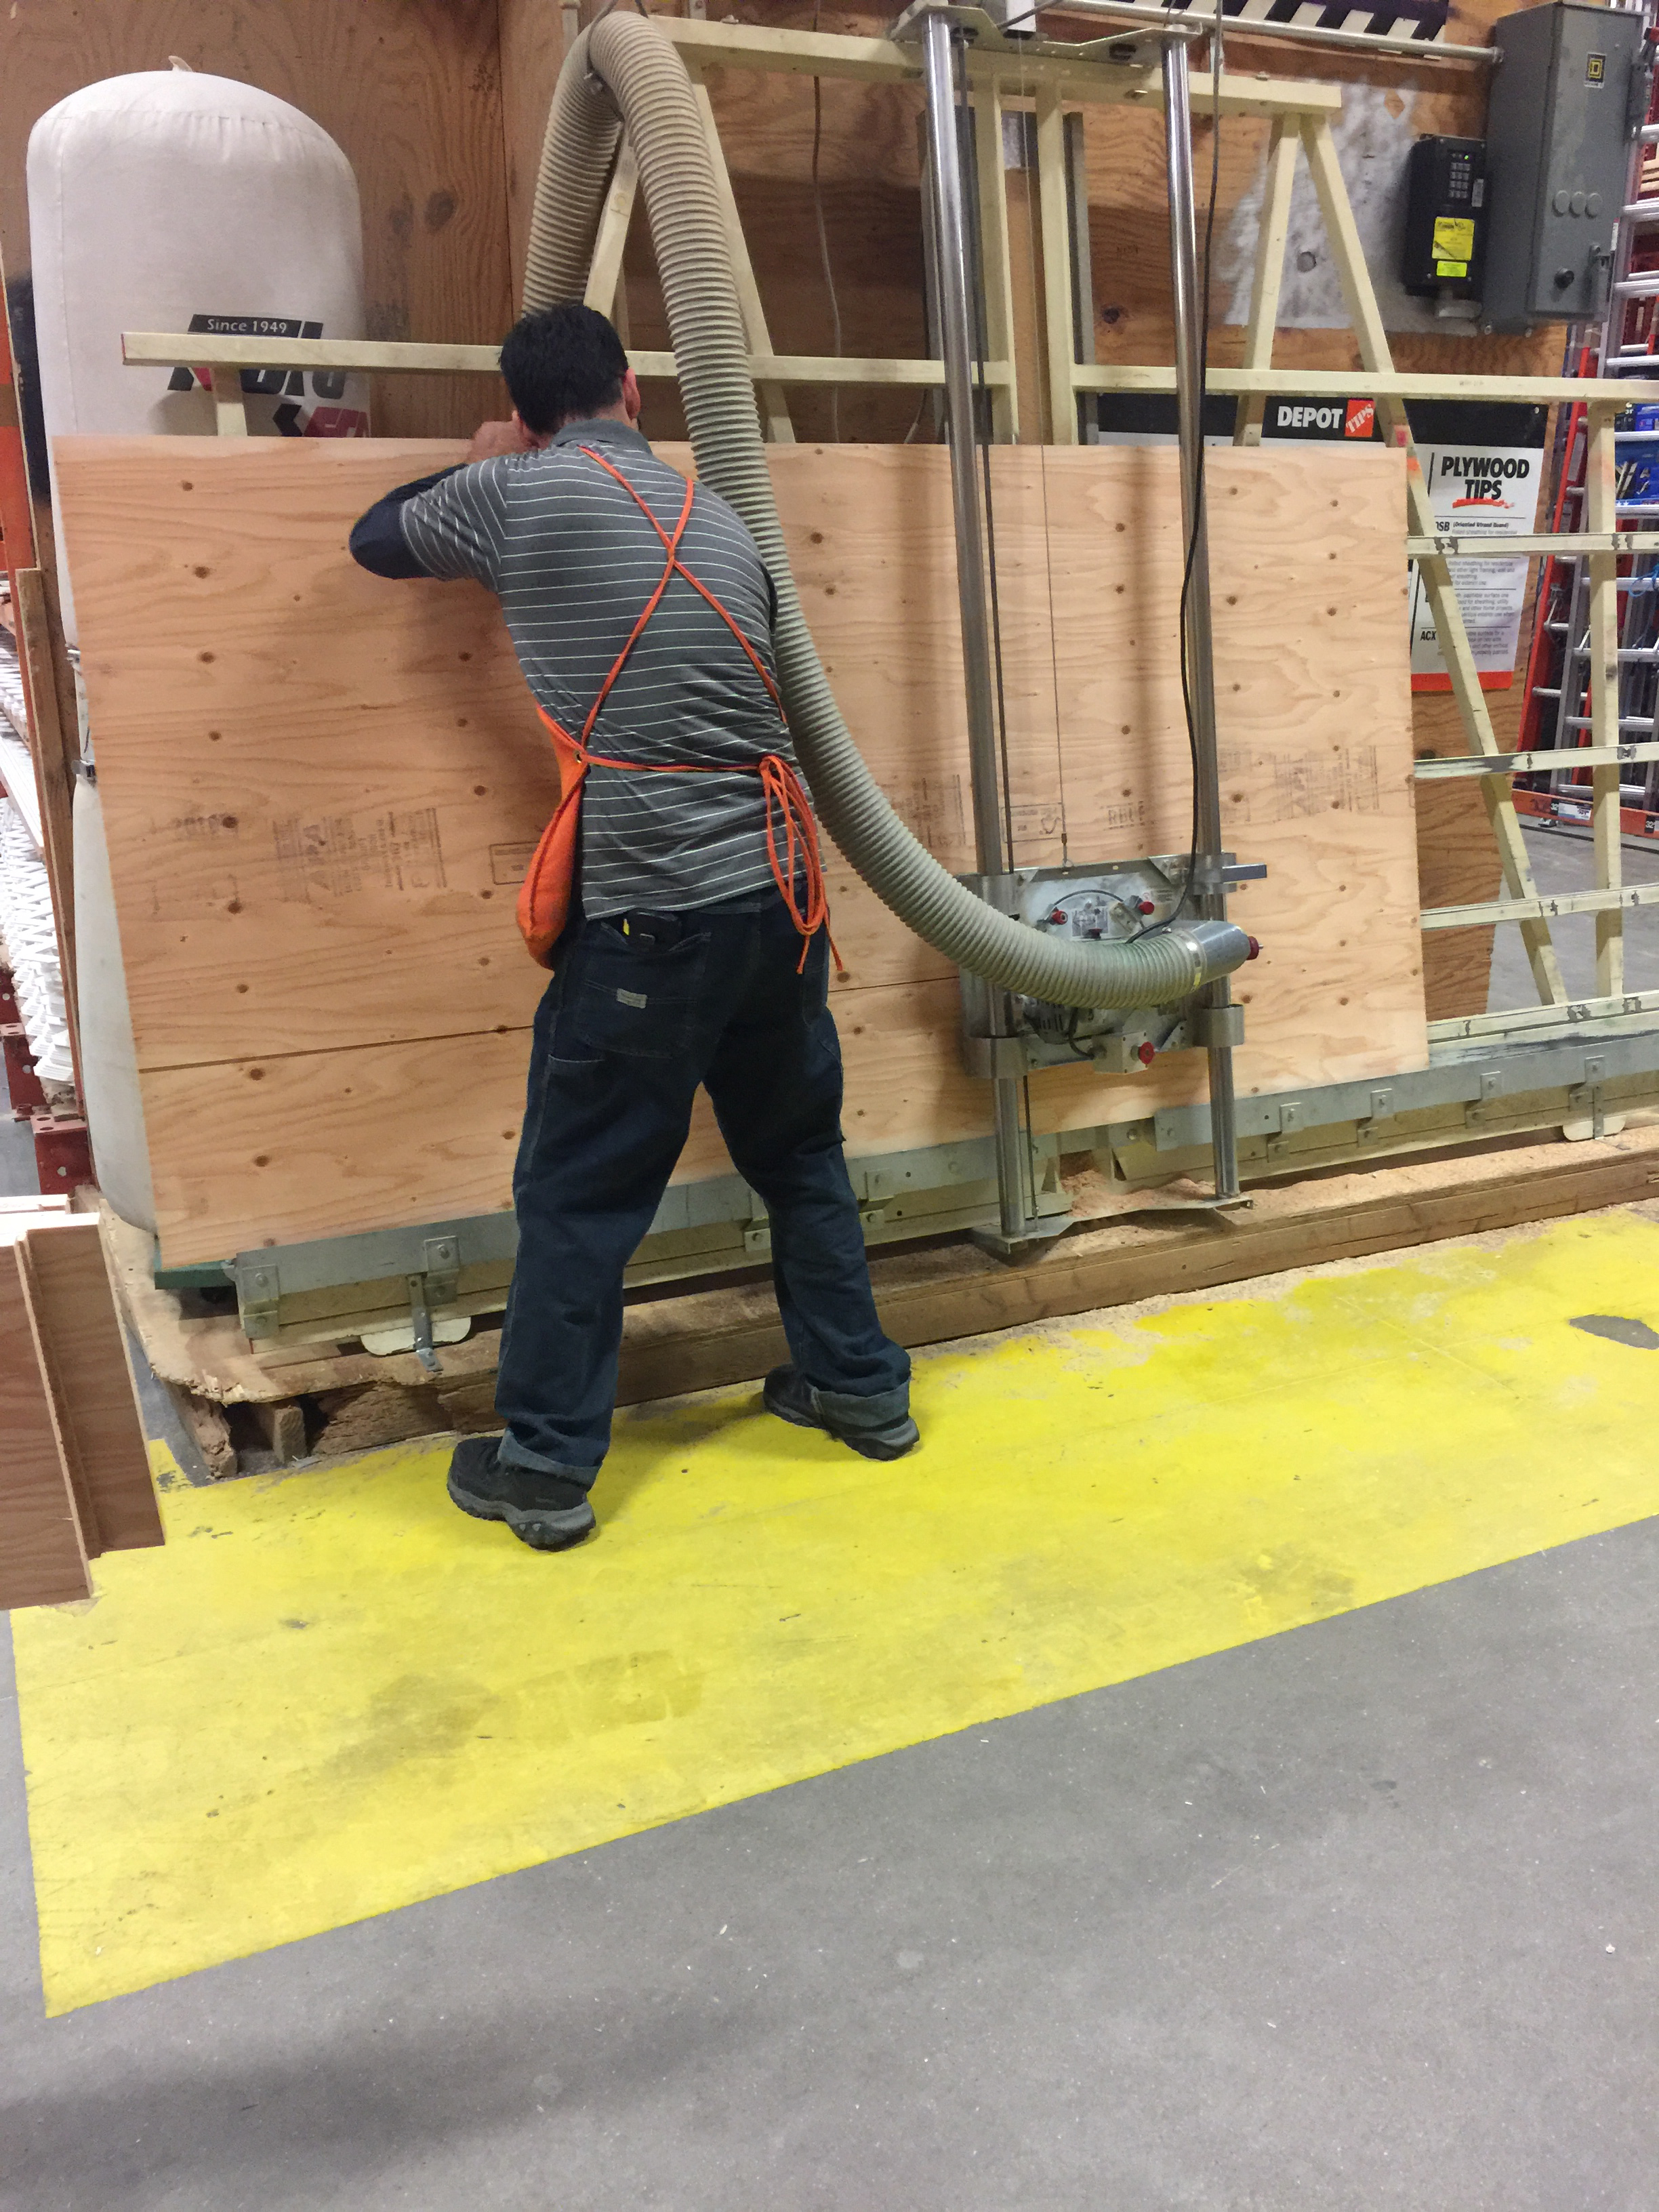
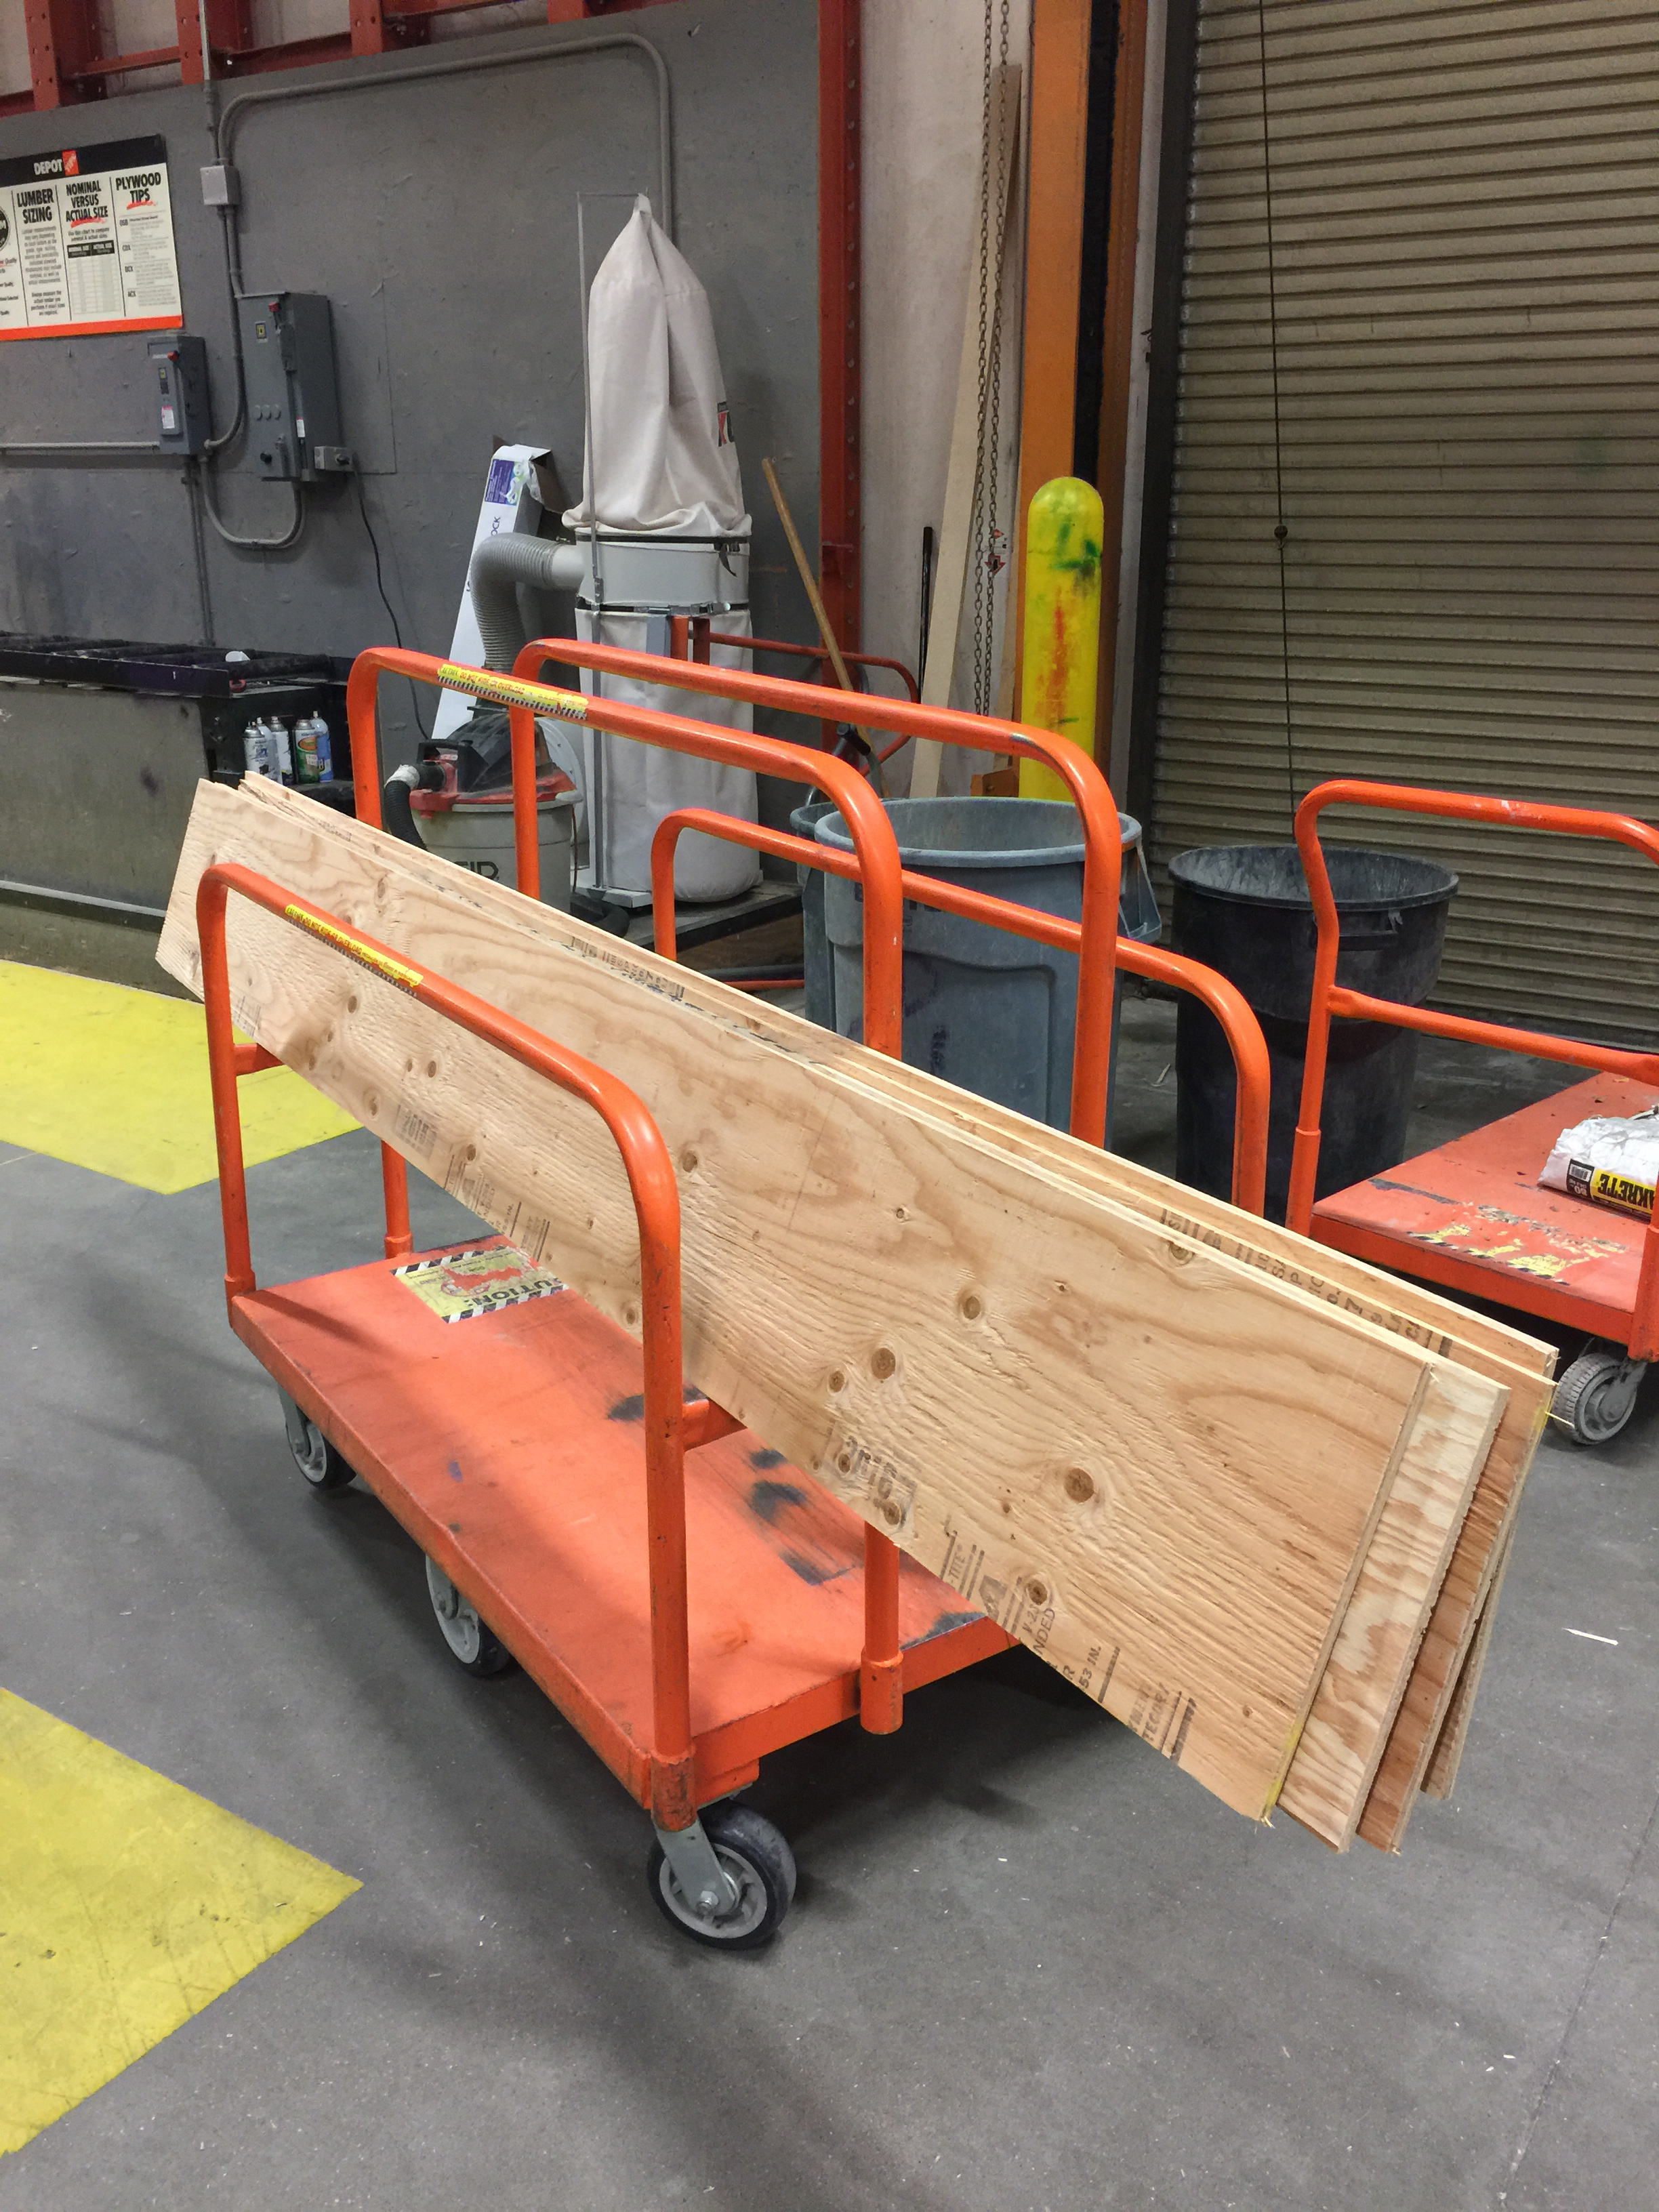
Head on down to your local Home Depot (or DIY store) and have them rip your plywood sheets into 12" planks. (We chose to do 12" but you can definitely cut your width smaller than we did). Keep in mind, your last cut will be shy of the desired width due to the blade; so we had 3 cuts at 12" and the 4th cut closer to 11 5/8's. We paired the boards together to make sure they were the same width, prior to cross cutting them to the length we wanted. It's a good idea to make sure they're exactly alike before you start, to ensure your shiplap is level all the way to the top.
Make sure your power is turned off for this next part and remove the outlets from the wall.

Now you're ready to start attaching the first layer! Using your stud finder and a pencil, mark across the whole wall where the studs are. This will be your guide for attaching the wood with the nail gun. Begin by cutting your first piece to a desired length, if you choose. We decided do 8' and 5' pieces since the wall was 13' in total length, and stagger them.
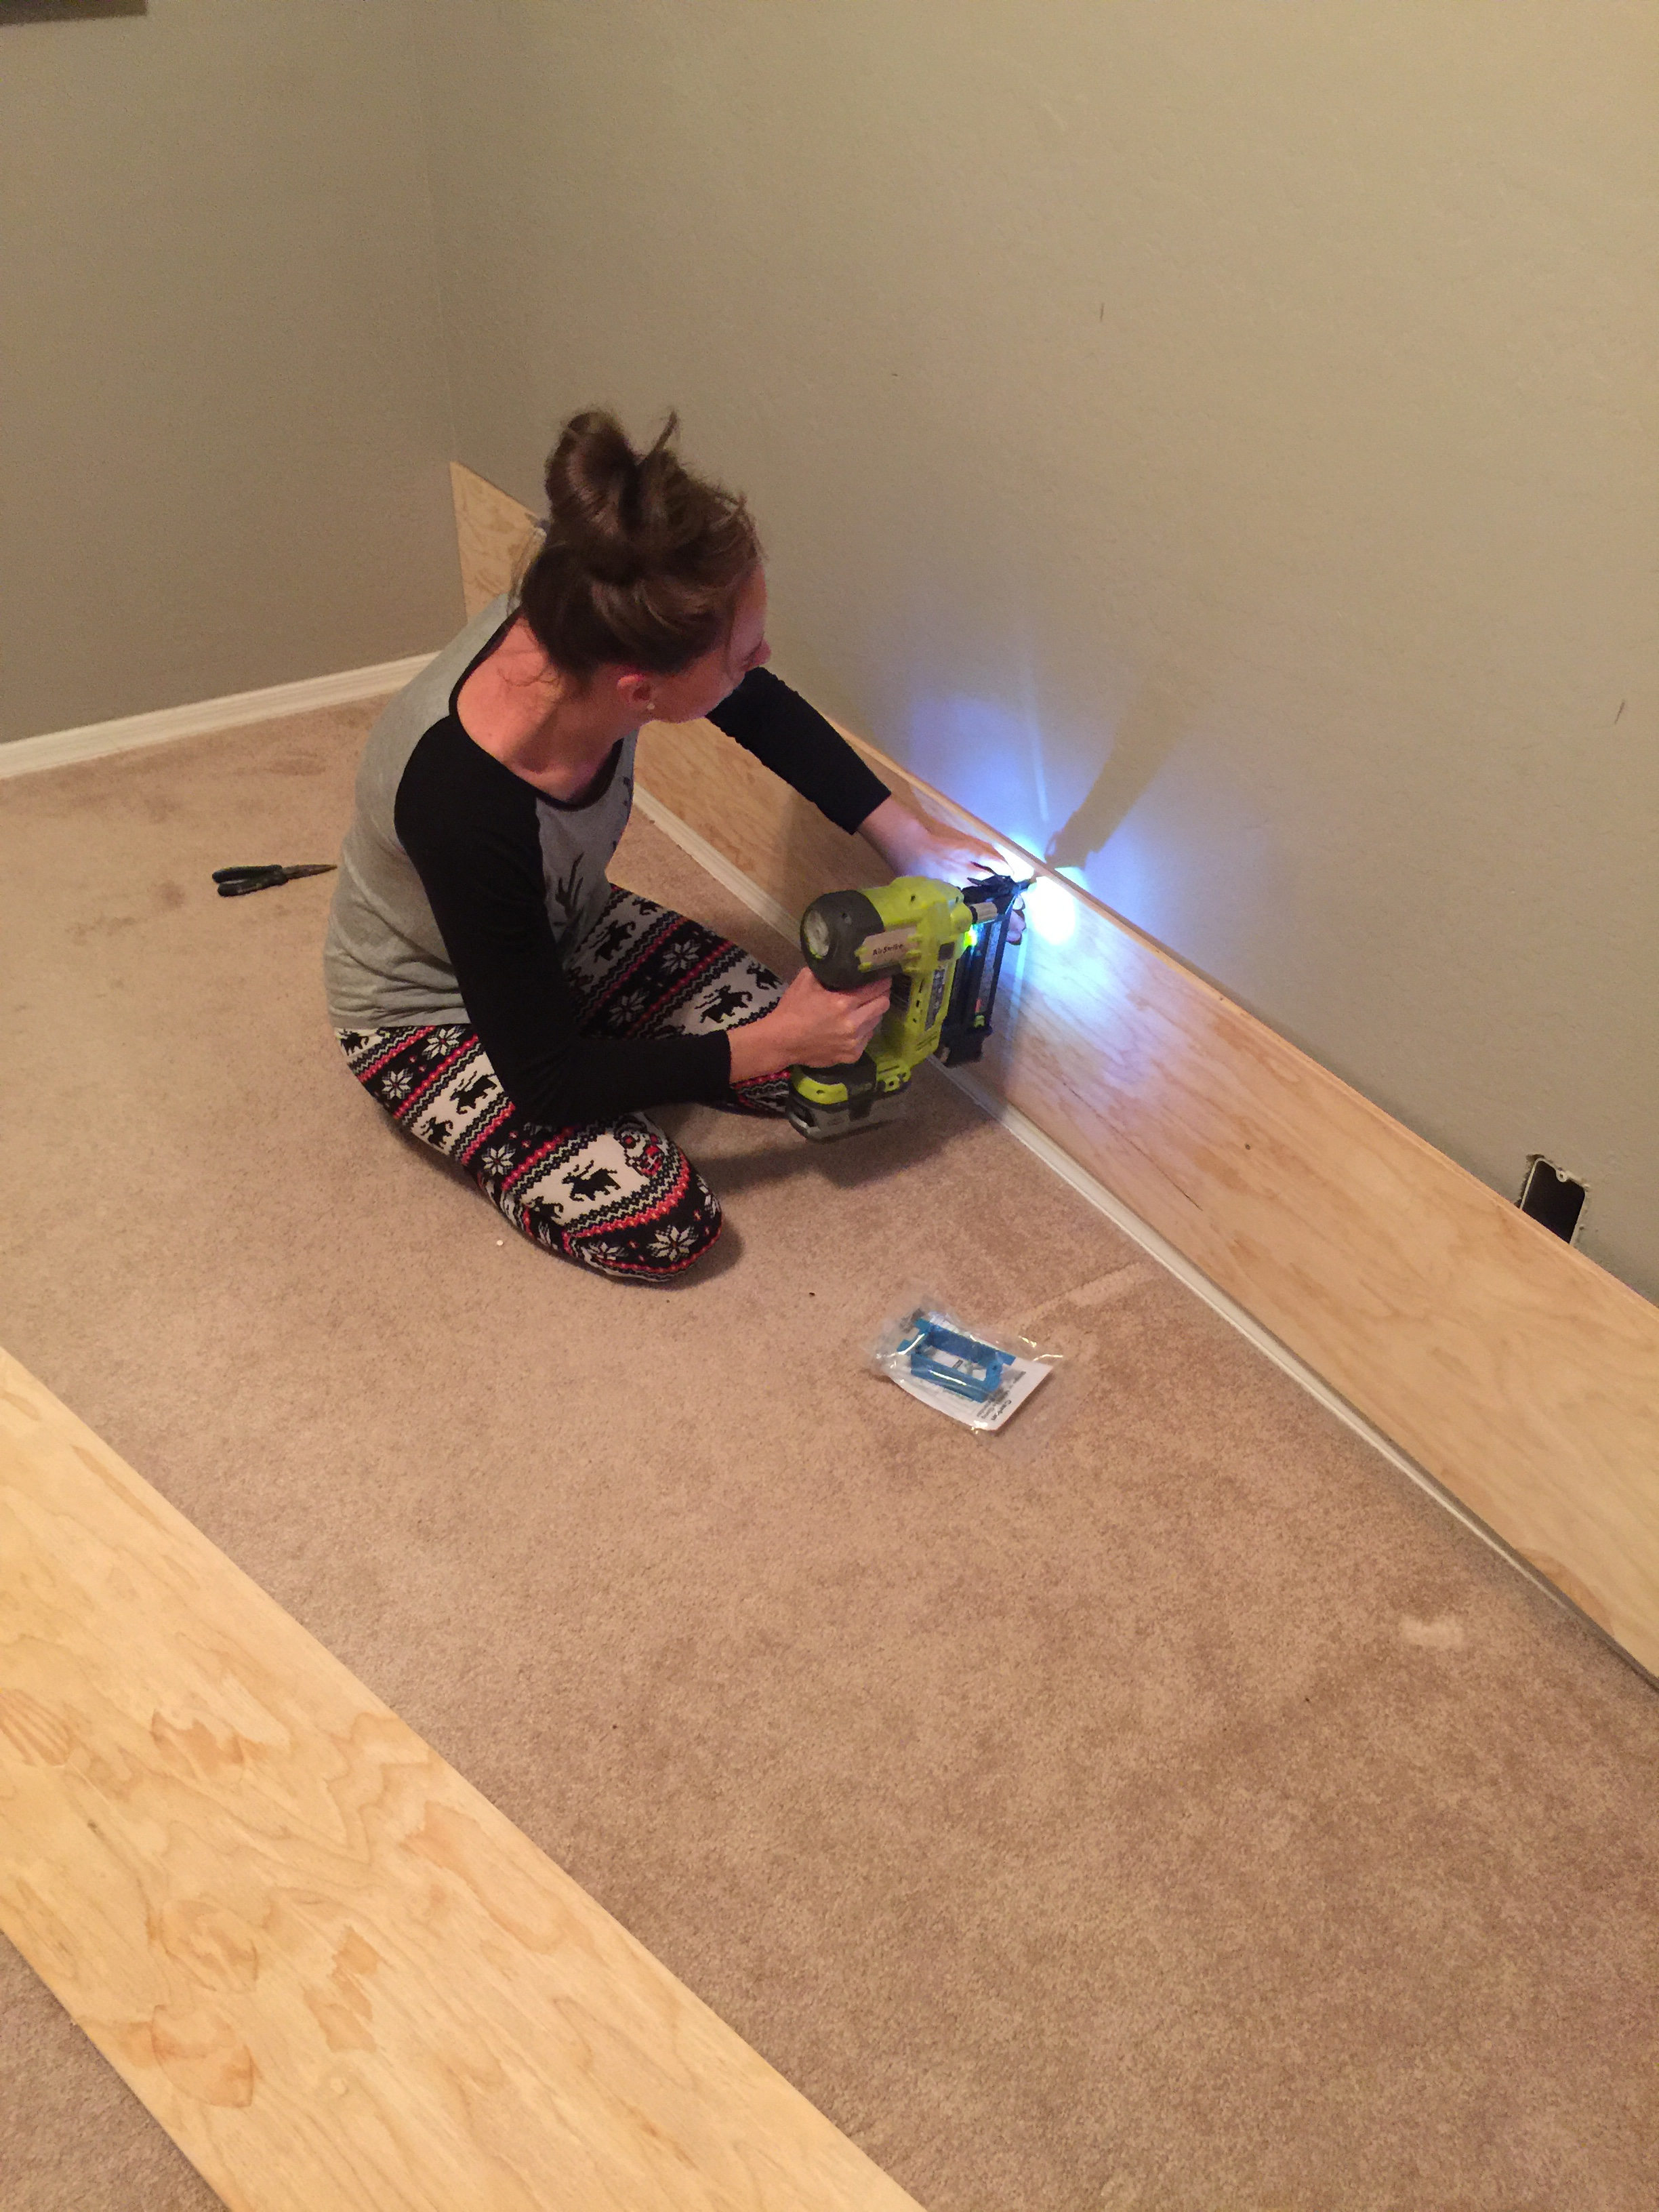
We started from the bottom of the wall, and worked up. Take your nail gun and attach the first piece on top of the baseboard. Using your level, make sure this first layer is level, to ensure accuracy.
Our outlets needed to be cut out within the first layer of shiplap. We measured the outlet, roughly while holding the wood against the wall. We marked it with a pencil and using a jigsaw, carefully cut out the space on the wood where the outlet would line up. Using nickels to space between the layers, we added the second row of boards and the second piece that was cut out for the outlet.


Now, once your boards are up on the wall, insert the outlet extender around the outlet and screw it into place.


Continue to layer and stagger your pieces and work up the wall until you reach the last layer before the top!

Once you're ready to nail your last layer, measure to make sure your same width board will fit. You may have to trim down the last piece, like we did, using our panel saw. You could easily take it back to Home Depot and have them cut it for you.

At this point, it's ready for priming and paint! I personally did not sand or prime my boards prior to painting. I wanted the wall to have the character of the wood and not necessarily be 'clean' and perfect. If you wanted to, at this point, you could caulk (make sure to buy paintable caulking!) and tidy up the nail holes and edges. Like I said, I didn't want to, nor did I really mind the way it looked just as it was.
I painted two coats of white paint and I was all finished!


I was so excited to get this finished and decorate the room! Initially, I was unsure about cutting my planks at 12" but once I had the room complete, and looking at how tall the ceiling are in our house, I am in love with how it looks and feels!


Seeing this transformation makes me want to shiplap every room in my house! Well, almost! What do you guys think? Have you added ship lap in your homes?